Wednesday, September 28, 2011

Craft Loft Transformation

I took over the loft area by slowly engulfing each foot of space with a computer station, yarn balls, and sewing projects.  I was far too successful, too fast.  The loft area is the first space you see when you walk upstairs and was used as a dumping ground.  The drafting table doubled as my crafting table and office desk.  This meant that everything went on top of the table:  computer, printer, sewing machine, baskets, etc. or directly on the ground below it, mostly because there were no drawers.  I had a lot of crafts organized in boxes, but everything was spread out.  The bookshelf was in an inaccessible corner.  I figured we could utilize the space better.  I found a great crafting system on Craigslist (I love recycling and recycled prices) and this is what happened:

Before: 


After:


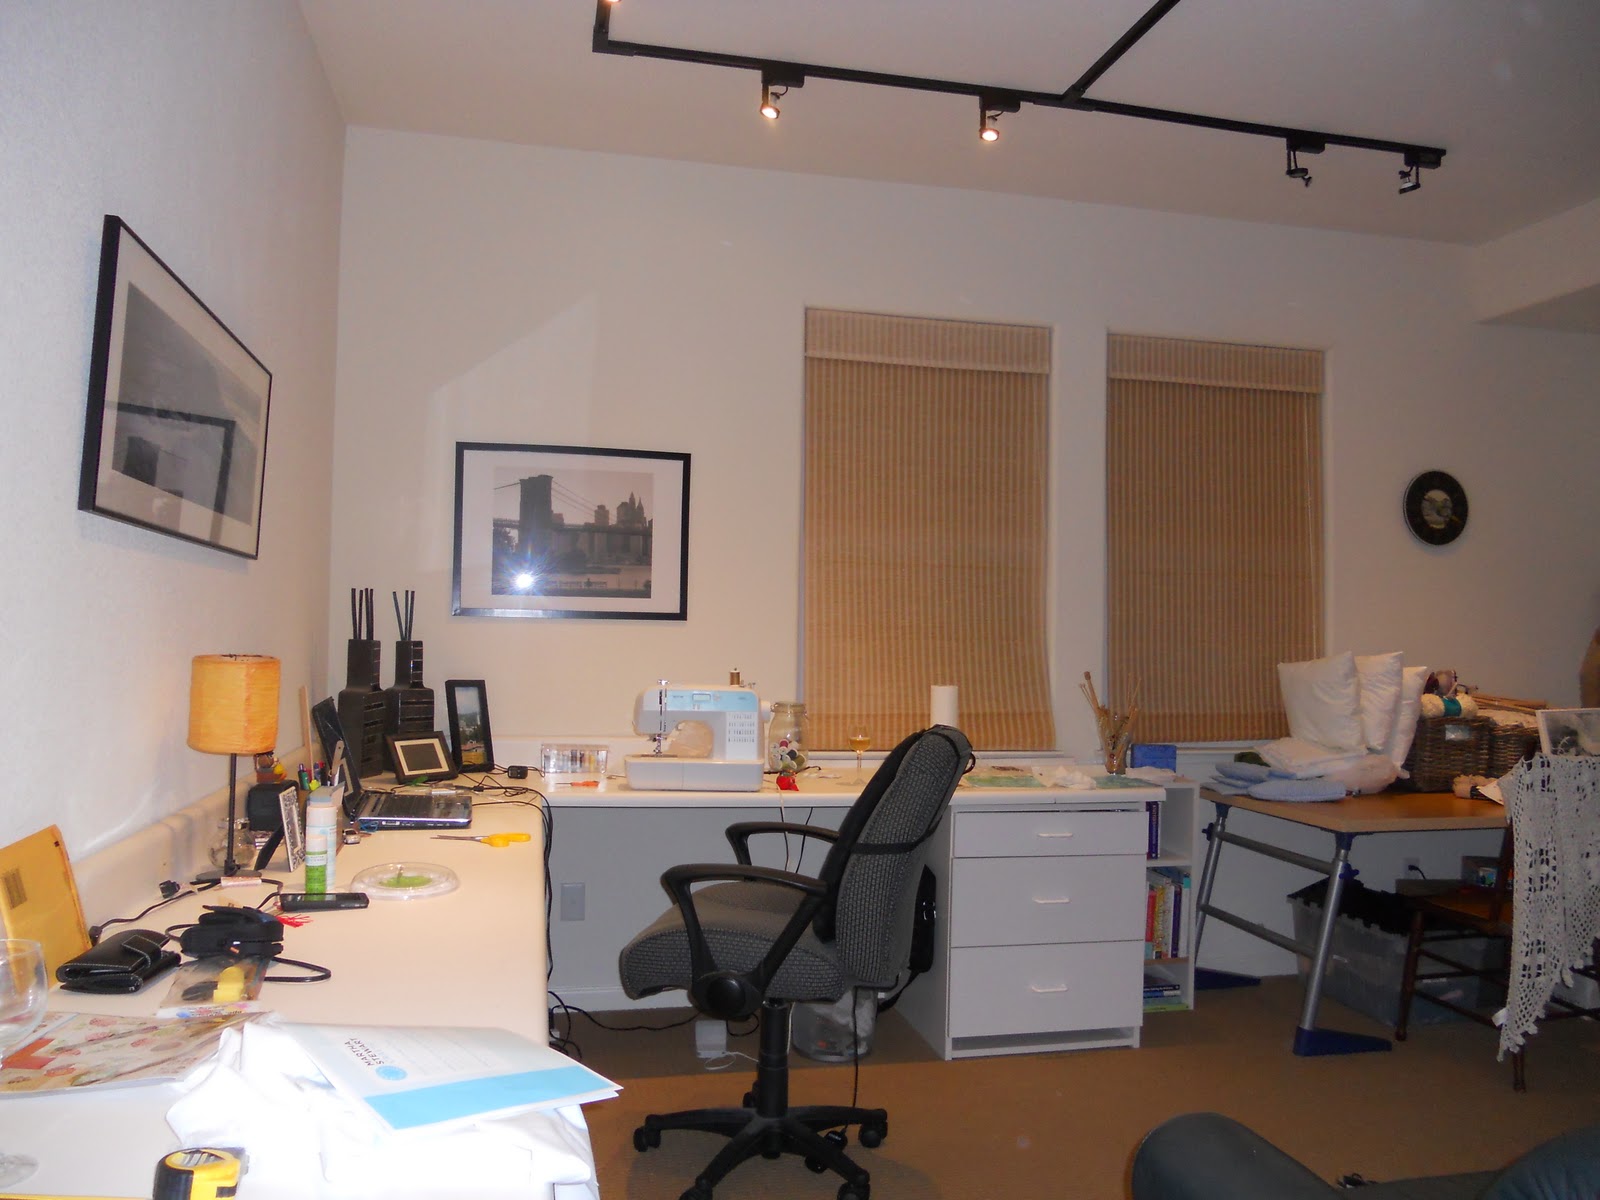
Jeff installed 18 feet of counter and track lighting overhead that can be flipped on with a switch; no more turning off individual floor lamps!  Everything has been organized in sections: office, sewing, cutting.  The bookshelf is just to the right of the sofa, so you don't have to look past me to watch TV!

Laundry Room Organization

The laundry room was in need of some organization.  It went from piles on the washer, dryer, and ground to this:

1.  I bought baskets to sort and label: detergents, fabric care, and cleansers.


2. Then Jeff added a shelf for more baskets and to hold a jug of distilled water, so I can just pull  the spigot forward to easily fill the iron or clothes steamer.  Jeff also added a hook to hold an extension cord, in case I need it for the iron or steamer.  Best of all, I moved the steamer from the master bath to its rightful place!

Tuesday, September 27, 2011

Sleeping Bag Stuff Sack

Ryan just went on his first ever Boy Scouts camping trip and
I made him a stuck sack to carry his sleeping bag.


It took less than an hour since I wasn't concerned with exact measurements. 
Here's what I did:

1.  I pulled a sample to gauge measurements and cut the fabric by eyeballing it. 
You will need one super long piece for the main body and a circular piece for the bottom.


2.  I sewed the circular piece to the bottom edge of the main body piece, then I sewed the edges of the main  body piece together except for the last 2".

3.  I folded the top 2" in half and sewed a 1" drawstring casing.


 4. I flipped the bag right-side out, and painted Ryan's name using Martha Stewart stencils.  


5. I placed a scrap fabric over the paint and ironed for 30 seconds until dry.


Then, I took Ryan's sleeping bag...


and threw it in the stuff sack.


Ryan was one happy camper!

Monday, September 26, 2011

Outdoor Floral Pillows

My sister asked me to make a pillow form for her, and afterwards, I thought, "Why stop there?"  There were some lonely adirondack chairs on the porch that could use some decor.  I made some pillow forms using my Grandma's polyester filling and some scrap fabric.  Then I pieced together two upholstery squares and  added piping:


and used some Martha Stewart floral stencils to paint this on: